CATEGORIES
- A free account
- Account assistants
- Account Information
- Affiliate Program
- Appearance
- AppSumo
- Audio & Video
- Branding / Custom / Whitelabel
- Branding Tool
- Break-out Rooms
- Call to Action
- Camera & Microphone
- Capacity & Limits
- Closed captioning
- Decisions - Professional Voting
- Event tokens
- Evergreen webinars
- Forms
- How to join meeting on mobiles
- Hubspot Integration
- Integrations
- Language interpretation
- Live Transcription
- Meetings & Webinars
- Other
- Pabbly Connect
- Paid Webinars
- Presence Manager
- Recording
- Registration
- Requirements
- Room Chat
- Screen Sharing
- Session Management
- Statistics & Reports
- Storage
- Streaming
- Sub-Accounts
- Tests & Surveys
- Virtual Backgrounds
- Vote Manager
- Waiting rooms
- Webinar and Meeting Room Features
- Website Presenter
- Whiteboard
- Wordpress plugin
FAQ -> Call to Action -> How to customize a Call to Action?
How to customize a Call to Action?
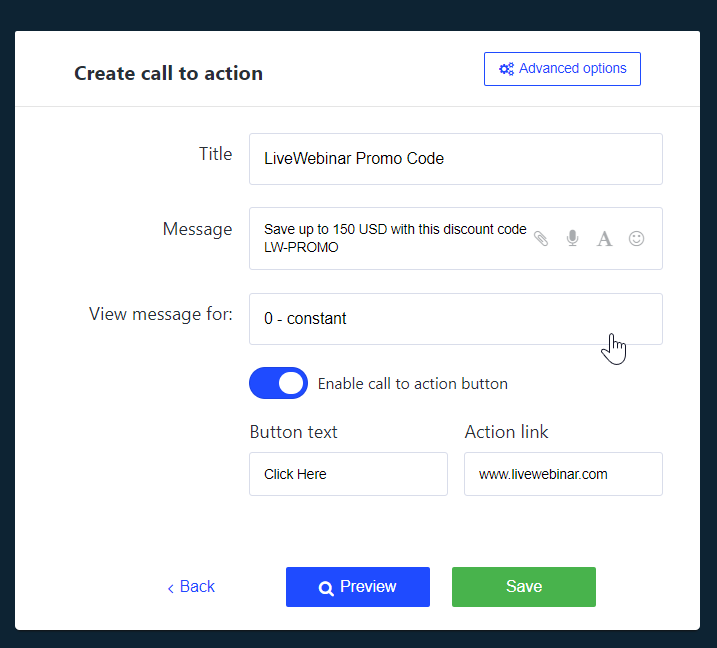
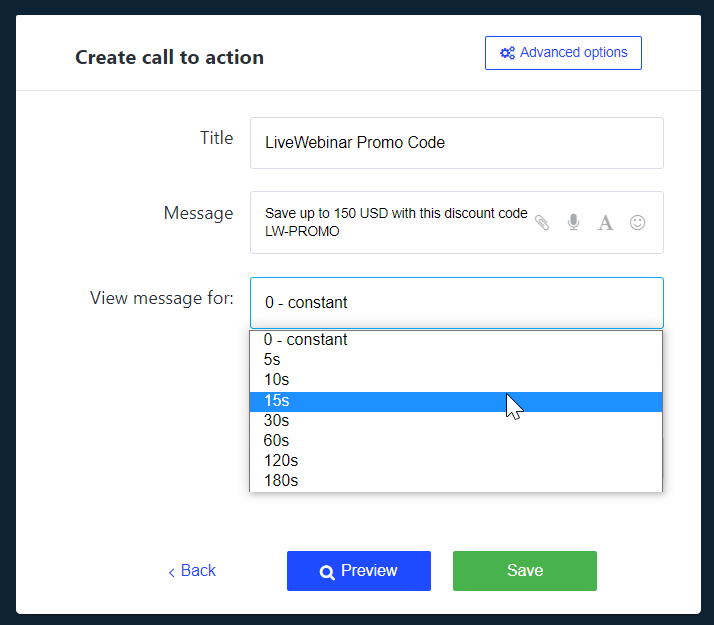
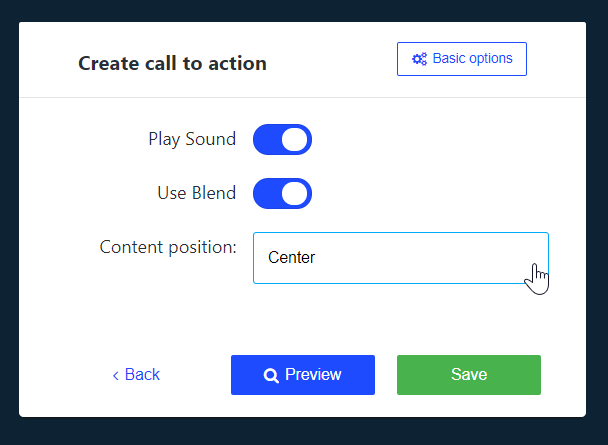
When you begin to create a CTA go to the Advanced options – there you will be able to customize its position, blend the background or enable a sound notification.


Adding images to Call-to-Action
You can also add an image instead of just text with a button.
This option is particularly useful with Evergreen webinars, where there is no Adds banner option.
You can add images to Call-to-Action in many popular formats:'png', 'gif', 'jpg', 'jpeg'.
Images can be added in the "Message" field - attach file (clip).

An example of the photo or a banner included in your Call to Action may look like this:

Watch the video tutorial and get to know the details.