CATEGORIES
- A free account
- Account assistants
- Account Information
- Affiliate Program
- Appearance
- AppSumo
- Audio & Video
- Branding / Custom / Whitelabel
- Branding Tool
- Break-out Rooms
- Call to Action
- Camera & Microphone
- Capacity & Limits
- Certificates
- Closed captioning
- Decisions - Professional Voting
- Event tokens
- Evergreen webinars
- Forms
- How to join meeting on mobiles
- Hubspot Integration
- Integrations
- Language interpretation
- Live Transcription
- Meetings & Webinars
- Other
- Pabbly Connect
- Paid Webinars
- Presence Manager
- Recording
- Registration
- Requirements
- Room Chat
- Screen Sharing
- Session Management
- Statistics & Reports
- Storage
- Streaming
- Sub-Accounts
- Tests & Surveys
- Virtual Backgrounds
- Vote Manager
- Waiting rooms
- Webinar and Meeting Room Features
- Website Presenter
- Whiteboard
- Wordpress plugin
FAQ -> Recording -> How can I upload my recording to external storage having a lower plan?
How can I upload my recording to external storage having a lower plan?
Recording to external storage on lower plans can be done through a LiveWebinar and Zapier integration.
First, you must create a new Zap, and then choose LiveWebinar. Select the event "Webinar Recording Ready", then attach the Google Drive app, and finally select "Upload File". As soon as the recording is available it will be automatically uploaded to your Google Drive account.
To learn more about creating Zaps with the LiveWebinar + Zapier integration, check out the manual here.
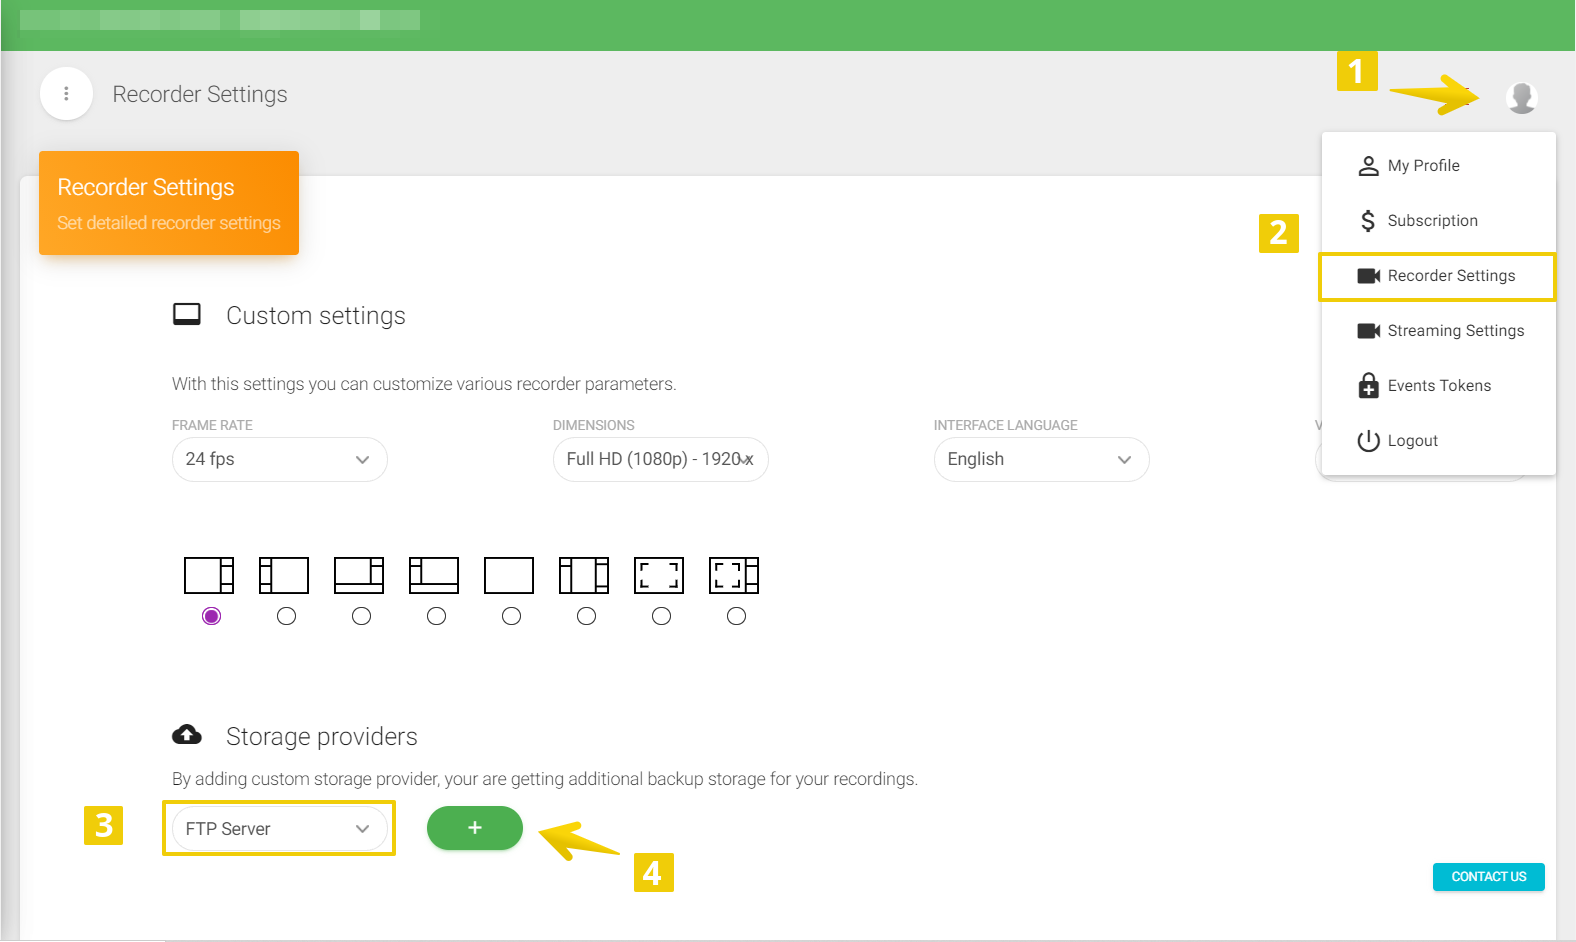
If you have a higher plan than PRO you may provide a link to Amazon S3 storage or an external FTP that will automatically store your recordings.
